How did I deal with…?
Sculpting and Modeling a Human Body Using ZBrush and Maya
The goal of this project is making a short film, with one organic surface character. This is what the complete model looks like after rigging, animating, texturing, lighting, applying VFX and post‑producing the cgi:


These are the steps I'm taking to implement this particular modeling task:
ZSpheres
I am starting the process with ZSpheres in ZBrush.


Sculpting basic detail
Getting sure that I am getting the proportions right, blocking out my model, adding some basic details, just enough to use the model as a basis for retopology. I am using Dynamesh for this phase of the process and applying all the knowledge learnt from analog art — namely drawing, sculpting and anatomy background — to get my references right.


Click on the 2D Artist cardsFor more information about analog sculpting and drawing:
Retopology
After decimating my mesh, I am exporting it into Maya as an OBJ. Once in Maya, I am making my surface live and retopologizing it using Quad Draw, building up edge loops, keeping in mind future deformations, SubDivisions and smooth nodes:


Once my topology is clean and ready, I can move on to open UVW. I'm going to be using them for texture later, but first I am using them to add micropolygonal detail in ZBrush:


Sculpting micro detail
I'm reimporting my mesh with open UVW into ZBrush. I know, after retopology, that my size is right and that the UVW correspond to the mesh vertices and edges. My goal here is to use this mesh density as my default subdivision level in ZBrush, gradually adding SubDivisions and – requiring lots of patience and knowledge – sculpting detail by hand, the higher the subdivision, the finer the detail:
Normal and Displacement maps
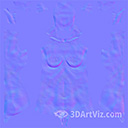
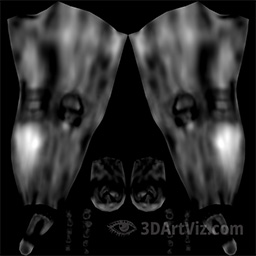
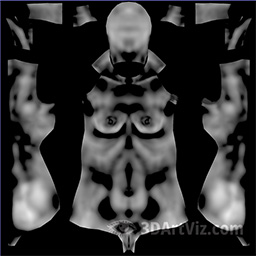
Once My detailing process is done, I am in the position to export normal and displacement maps, reusing my UVW:


One of the many advantages of using this method is that I can re‑use these maps as a template for my color, roughness and even SSS textures later in e.g. Substance Painter. The next step in the pipeline is Texturing. Click on the Texturing Character Card to know more:
You are going to find out more information about digital modeling and sculpting, clicking on the following case study links:


