How did I deal with…?
Grooming a Human Head Using XGen in Maya
The goal of this project is testing a head‑rigging system for facial expressions. This is what some of the post‑produced shots look like:


These are the steps I'm following to achieve a working simulation:
XGen Simulation
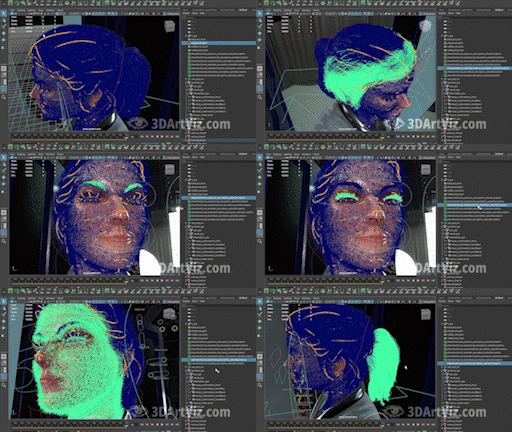
The project needs a character with hair in a bundle. The solution I'm developing is using XGen. If the character had long hair, I would be using Maya nHair because it would flow against the surface (head, ears, shoulders), adding a higher dynamics level. This is what her hair looks like in viewport:


Linking geometry to descriptions
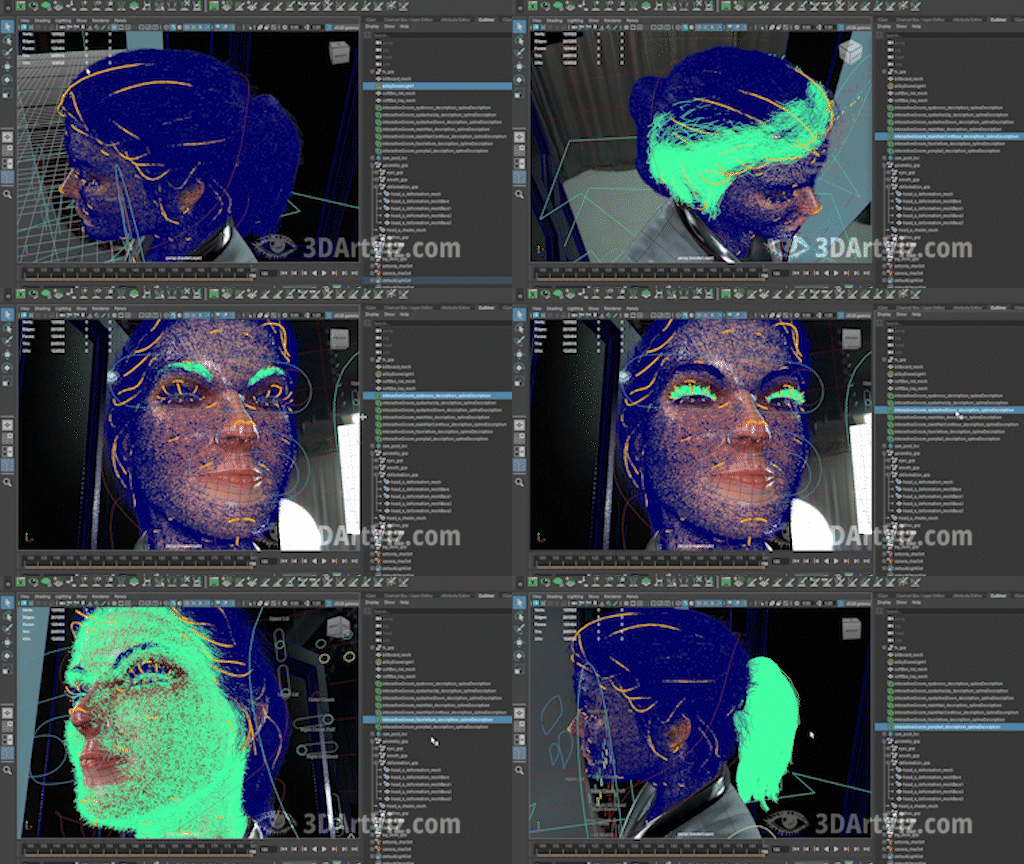
I'm making non‑renderable geometries, applying the grooming onto them, and connecting them to the deformations onto the rigged head. After that, creating one hair collection with 7 groups, one for each description:
- Main hair
- Eyebrows
- Eyelashes up and down
- Ponytail
- Hair contour, and
- Face vellum


Simulating descriptions
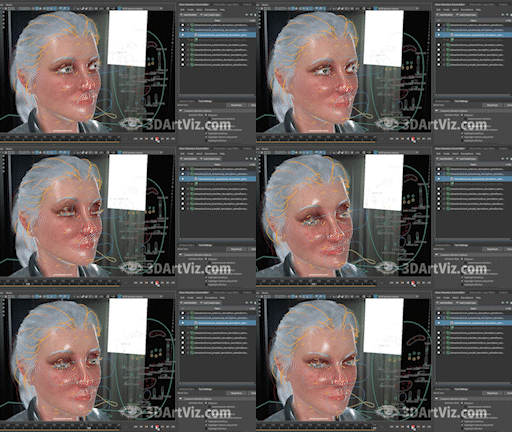
Once my descriptions are linked to the geometry, I can draw curves which drive the hair's distribution on the surface. When my distribution is simulating along the guide curves, I can retouch and add modifiers to my grooming, like noise, clump and cut:


Applying shader
When the hair simulation is working properly, I'm connecting a physical hair shader to the Shader Group of my Arnold Hair Library:


Compositing
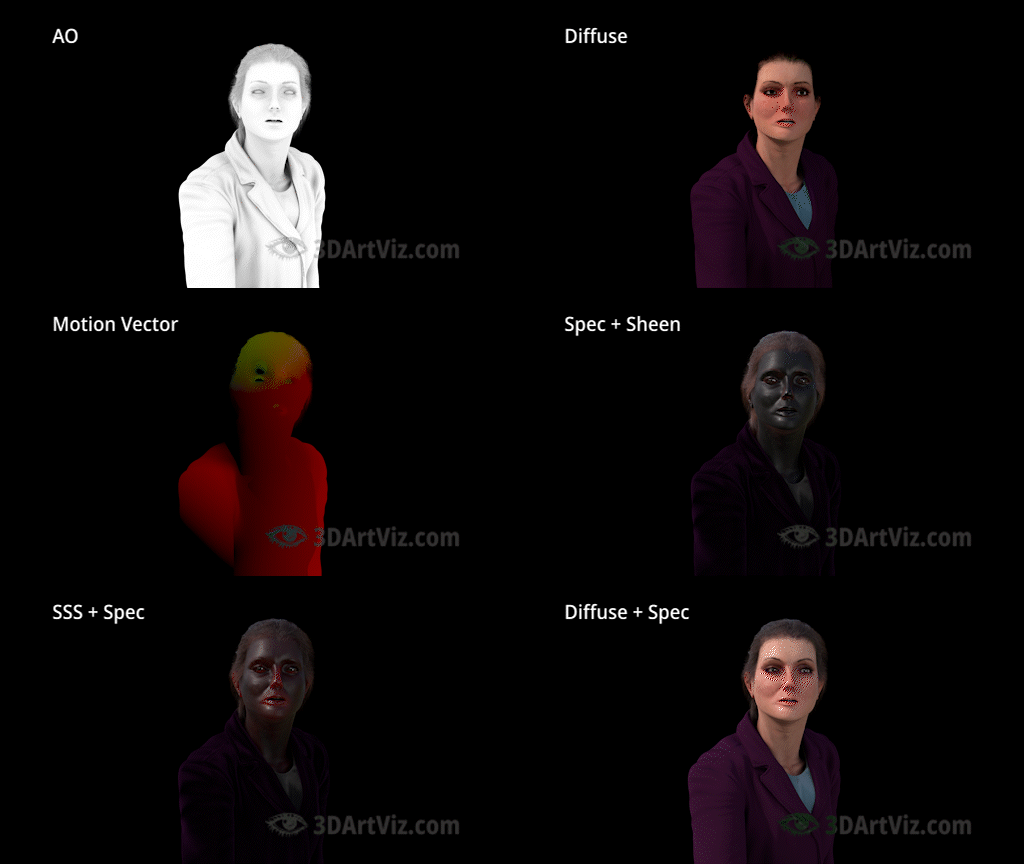
From this point on, I can import the simulation into my render scenes. Once there, I'm linking the non‑renderable geometry to the actual head geometry and letting the XGen simulation run. Once the result is convincing, I'm caching the simulation to a hard drive, and, when my simulations are cached, I'm in the position to render Arbitrary Object Values (AOV) from Arnold into Nuke for compositing:


If you want to know more about VFX and characters, visit these case studies:


